While each product featured is independently selected by our editors, we may include paid promotion. If you buy something through our links, we may earn commission.
I have never been a minimalist, and I likely never will be. I enjoy vibrant colors, patterns, and having a wide variety of options at my fingertips. What I do not enjoy, however, is clutter.
As a self-proclaimed beauty enthusiast who has been collecting products for over 15 years—including three years spent working as a beauty editor—it is no surprise that my personal stash has grown quite large. I have performed several purges over the years, passing items along to friends or discarding expired goods. I have also finished my fair share of products, using them down to the very last drop. Even so, I still possessed far more than I could ever realistically use. A major beauty declutter was long overdue.
Long bubble baths, massages, and indulgent skin-care rituals are often highlighted as the gold standard of beauty-related self-care. However, I would argue that purging your excess products—and taking the time to reorganize, clean, and donate in the process—is even more rewarding. If you are looking for a productive way to spend your time and take a break from the internet this spring, this project is the perfect solution.
Keep reading as I share my personal method for decluttering your beauty collection once and for all, including several professional tips, organizer recommendations, and the final results.
Decluttering Your Beauty Products, Step 1: Assess the Situation
Due to the limited storage space in New York City, I have to be creative with how I house my beauty items. Before I began my purge, I had half a credenza filled with makeup, bathroom cabinets packed with hair, skin, and body products, and several tote bags overflowing with inventory in my closets and under my bed.
My primary goal was to reduce my collection to fit only what I had space for, or ideally, even less. This meant that after the declutter, everything had to have a designated home—no cramming items into non-existent gaps or stacking products that were not meant to be layered. I already had a basic organization system in place, such as specific containers and areas delegated to hair products or palettes, which gave me a clear understanding of the storage capacity I was working with.
Decluttering Your Beauty Products, Step 2: Purge What You Don’t Use
Now it is time to get down to business. Everyone has a different process for decluttering, whether they prefer to work section by section, perform a mass purge, or use a hybrid approach. I prefer the latter; I like to see everything I own in one place, so I tackled each area of my apartment individually, organizing each section before moving on to the next.
Starting with my makeup drawers and a cardboard box for all my “no’s,” I quickly divided my collection in half using a specific set of criteria. Taking a note from Marie Kondo, I asked myself if each piece “sparked joy”—or, in other words, if it was something I would be genuinely excited to use. Then I considered the more granular details: Was this product expired? Did it have any strange smells or textures? When was the last time I actually used it? Finally, I determined if the item would better serve someone else, such as a friend, relative, or person in need. I applied this same logic to my bathroom and every tote bag I owned.
Decluttering Your Beauty Products, Step 3: Organize What’s Left
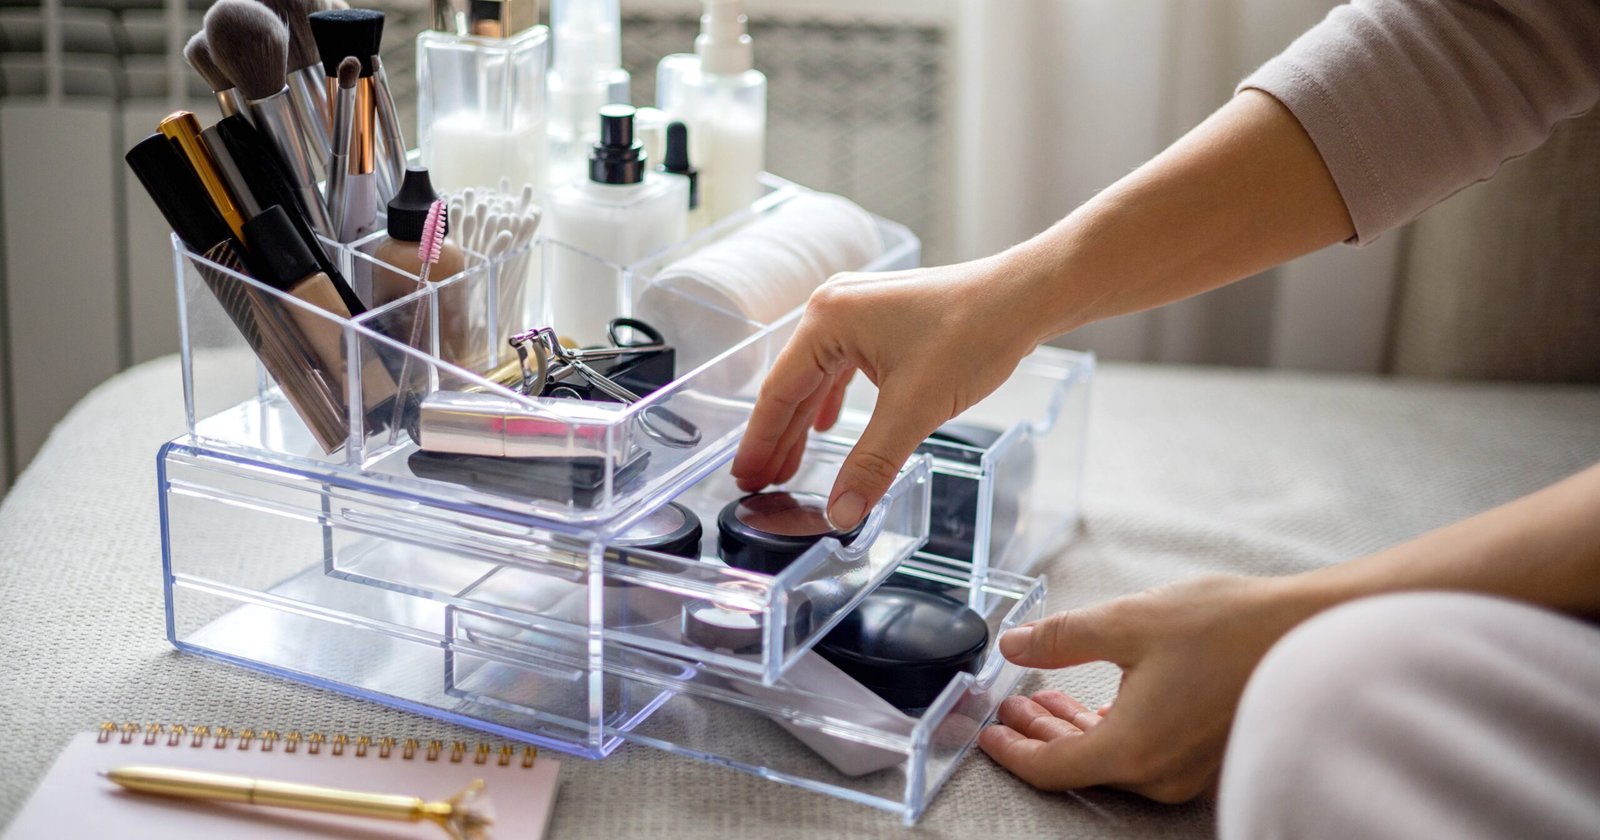
Once the purge was complete, I organized the items that made the cut. For my makeup drawers, I rely on a mix of dollar store containers, Stori Compact Organizers ($13), and HBLife Lipstick Holders ($9) to keep everything tidy. I then sorted the “no’s” into shipping boxes for friends and family, a tote for donations of sealed, unused products, a bag for recyclables, and a bag for trash. It may seem like an intricate process, but it was incredibly productive.
Decluttering Your Beauty Products, Step 4: Donate the Leftovers
A quick note on what to do with leftover products: I moved quickly to clear the items out of my small apartment. I immediately contacted Share Your Beauty and arranged to drop off several bags of brand-new products, which the organization distributes to homeless women and victims of domestic violence. I also shipped some well-stocked boxes to my mother and best friends. For recyclable items, I suggest using programs like Terracycle or looking for local recycling events to ensure products are disposed of responsibly.
Who doesn’t love a good transformation? Although my drawers might not look drastically different when comparing the before-and-after photos, seeing the pile of purged products felt satisfying. I estimate that I decluttered more than half of what I started with.
Unless you have an exceptionally massive collection, setting aside one day or less is all you need to declutter your beauty stash. The effects, however, are long-lasting. Since then, I no longer feel stressed when opening a drawer or sifting through excessive lip liners to find the one I actually wear. I feel great knowing my unwanted products are being put to good use, even if I still own more than I strictly need. Then again, I did mention that I will never be a minimalist.